
API Ambient Display / Moiré
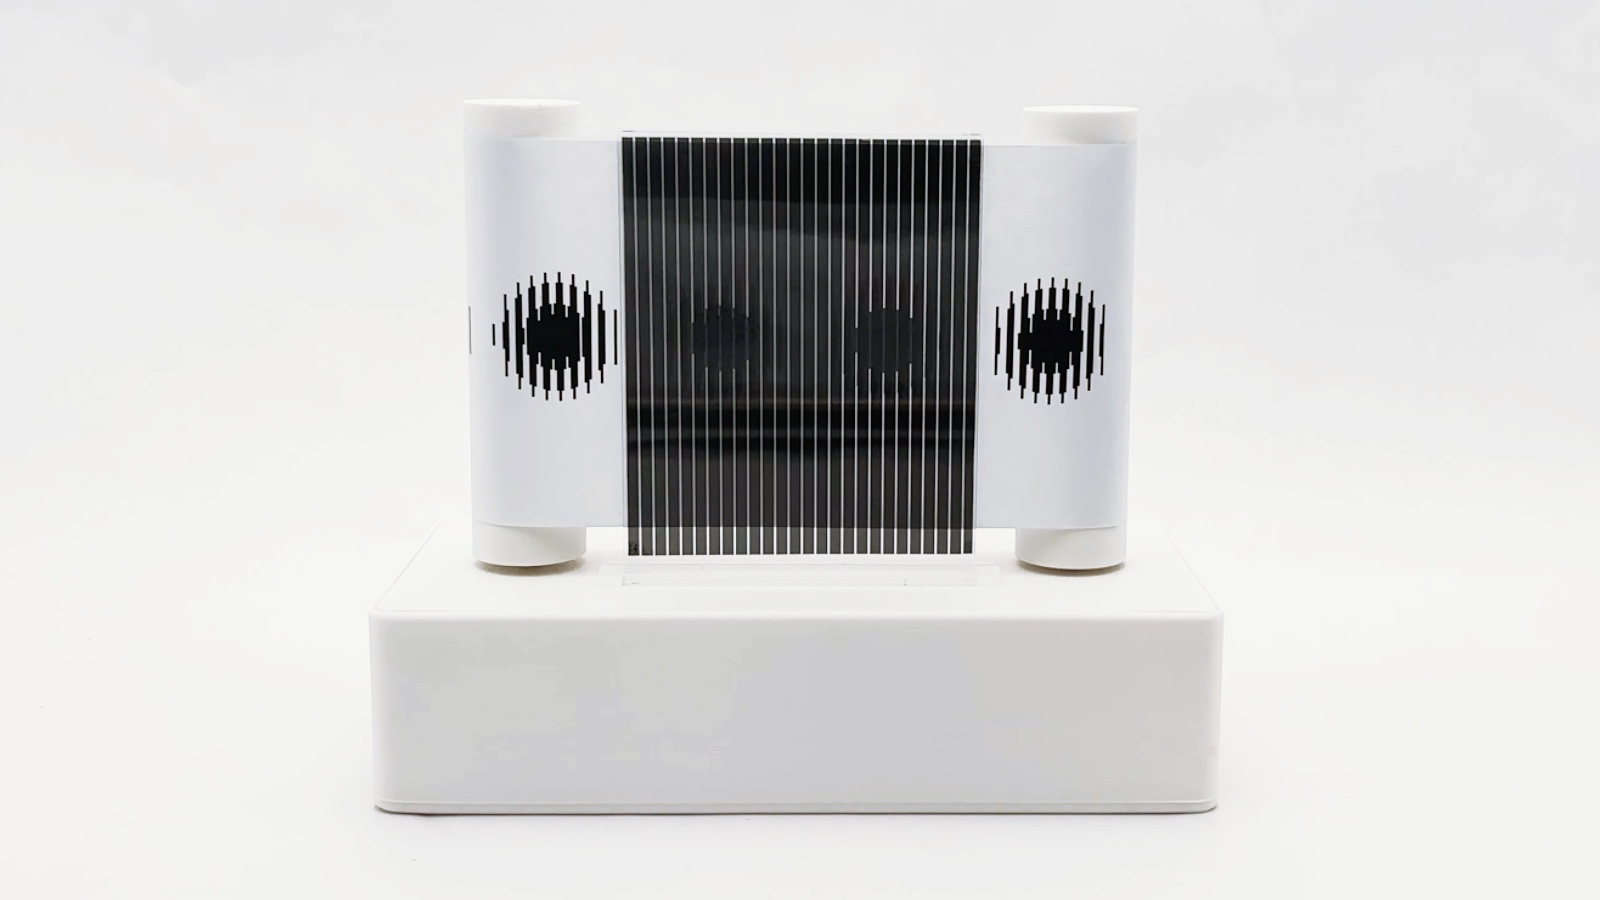
Moiré is an ambient display that gives physical form to how constantly Wikipedia is written and rewritten. A printed paper loop, one of the oldest ways of storing knowledge, travels behind a fixed acrylic grid that reveals one frame at a time and turns an interlaced drawing into animation. When human edits to English Wikipedia rise above their 15-minute baseline, the paper speeds up. When they drop below, it slows down.
The brief was to choose an API and express its data through physical movement, with no screens.
After building a zoetrope, I wanted to keep exploring the illusion of motion with a technique I hadn’t worked with before. I kept coming back to moiré, the pattern that appears when two sets of lines or dots overlap. When one layer shifts even slightly, new shapes and movement appear that aren’t in either layer on its own.
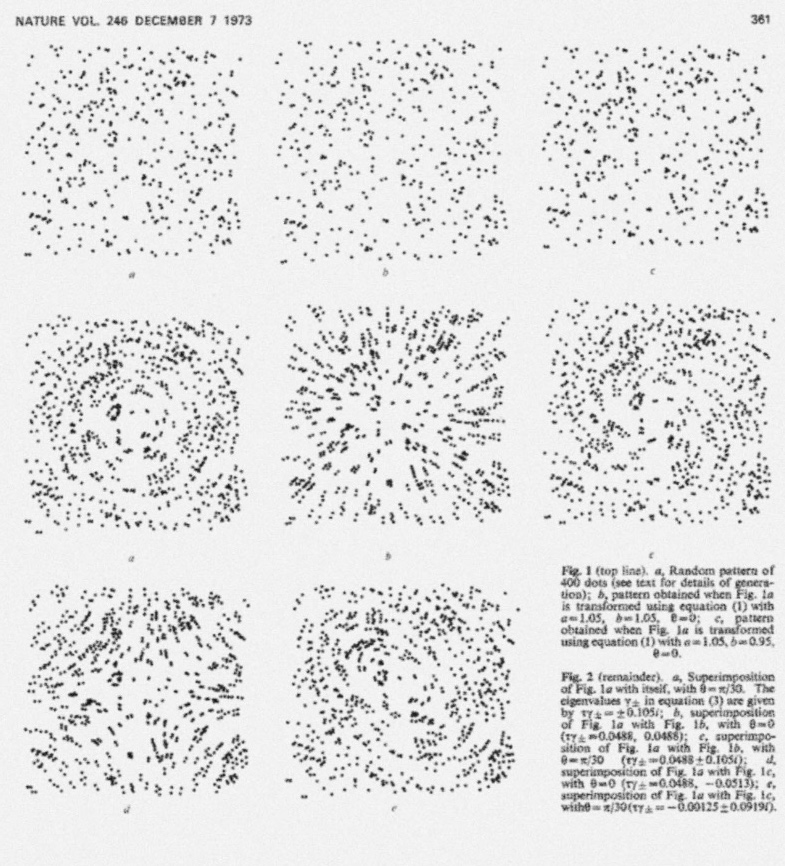
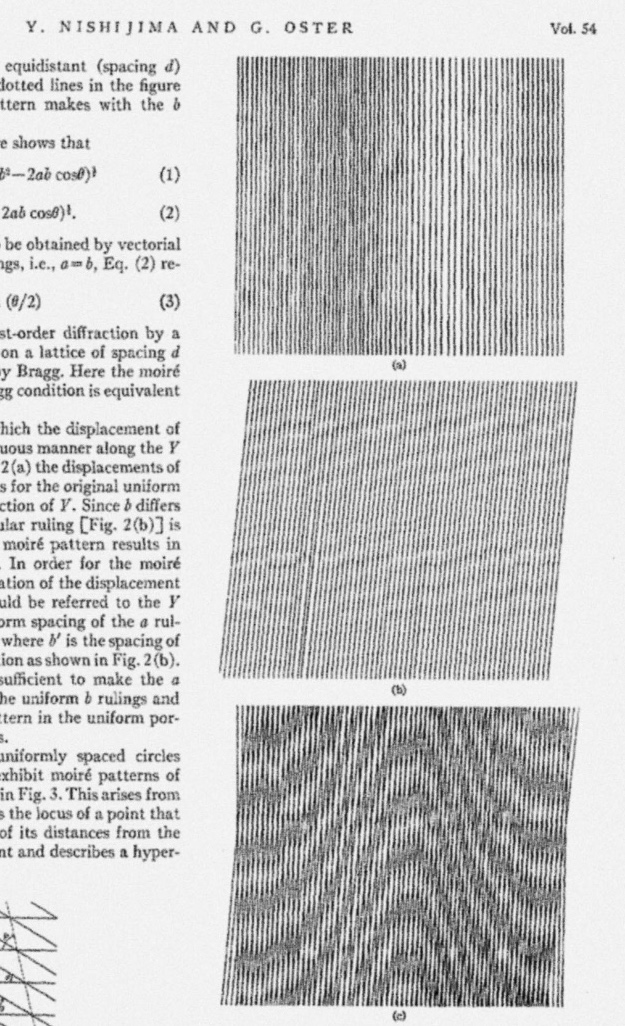
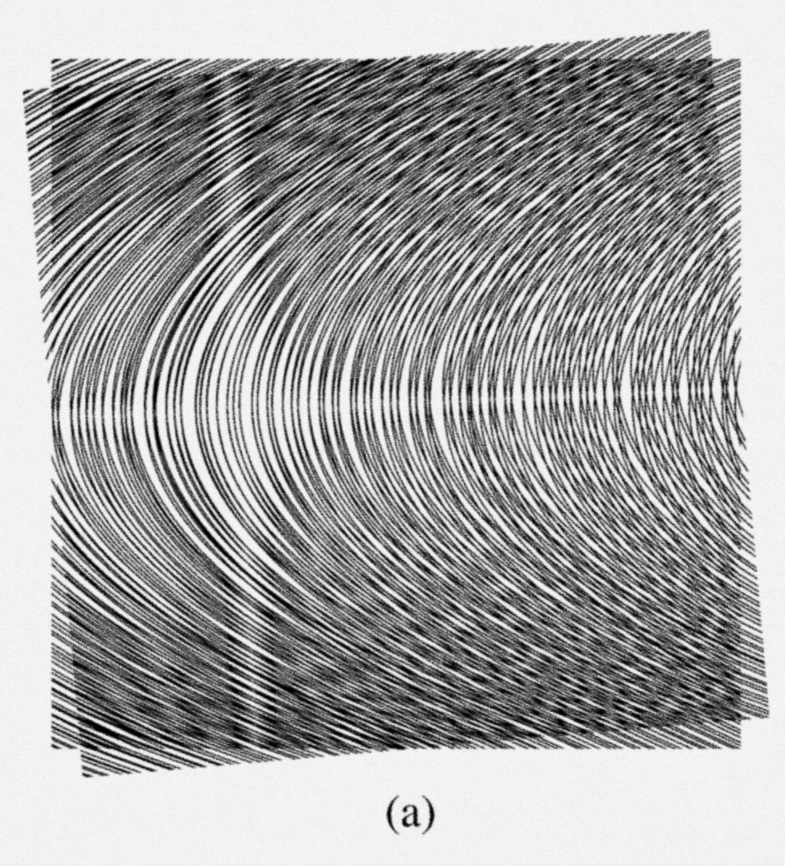
Moiré was used to animate small scenes in France in the early 1900s, where a striped overlay slid across a printed image to animate it. I liked the idea of pairing such an old optical trick with new technology. The patterns follow precise math: the spacing and angle of the overlapping lines determine the size and direction of the patterns that appear, as these clippings from scientific papers show.
The burning of the Library of Alexandria is often told as a story about how fragile collected knowledge is. Online knowledge bases like Wikipedia can seem permanent, but they may be even more fragile, since they are written, edited and rewritten all the time.
I chose Wikipedia’s recent changes to give that constant rewriting a physical form, and paper, one of the oldest ways of storing knowledge, as the material to carry it.
People are always editing Wikipedia, so there is never a moment with zero activity. If the machine ever stopped, viewers would read that as no one editing at all, which is never true. Instead, I established a baseline of normal activity and showed whether there is more or less than normal. Since the animation runs on a loop, that difference could be shown as speed.
The code counts human edits in the last two minutes and compares them to the average over the last 15 minutes. When activity rises above the baseline, the paper moves faster. When it drops below, it slows down. Activity within 10% of normal maps across the full range from calm to busy, so small changes are still visible, and the speed eases between readings instead of jumping.
The display itself couldn’t use a screen, but I wanted people to be able to see the edits too: who was editing which articles, and whether activity was above or below average. I built a live web view of the same data. It uses the same logic as the machine and lists each edit to English Wikipedia as it happens.
A moiré animation needs two layers sliding over each other: a drawing made of several interlaced frames, and a striped grid that hides some frames and reveals others, one at a time. I considered keeping the paper still and having the servo change the angle of the grid, but chose a loop of paper that travels continuously behind a fixed grid, as in early French machines. A loop can run indefinitely, which suits data that never stops.
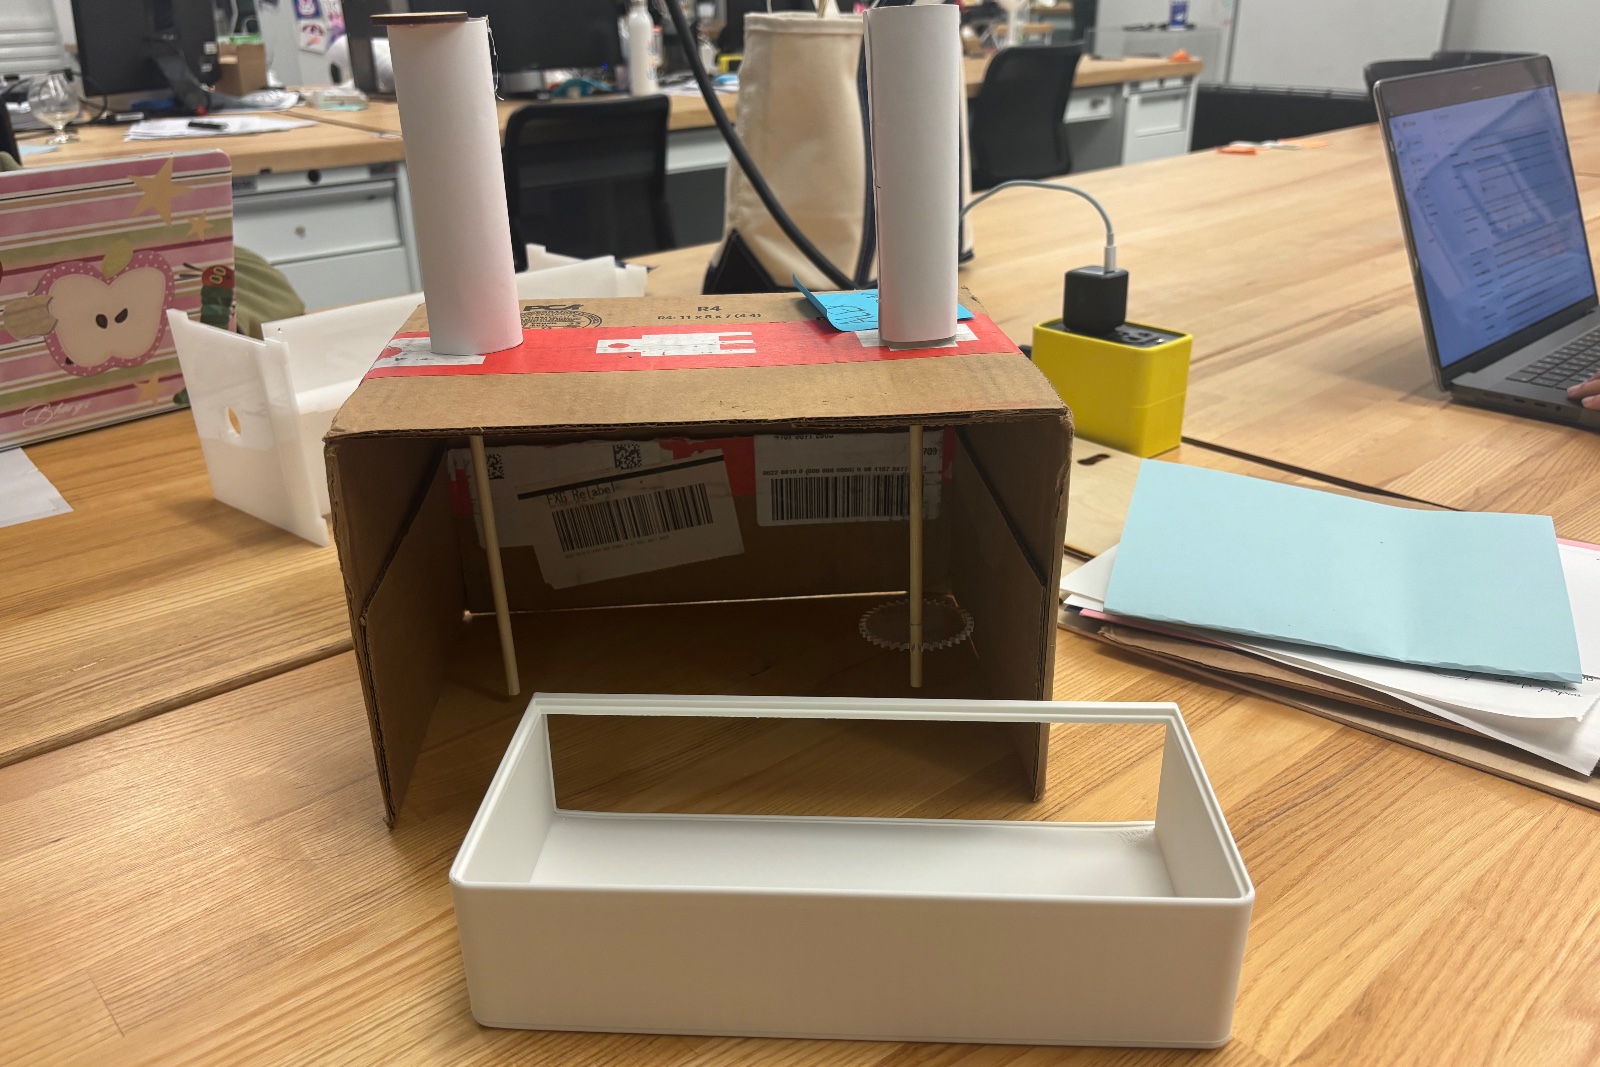
A lo-fi cardboard prototype with two dowels, paper rollers and an acrylic gear tested the mechanism at full size. It surfaced two problems for the final build to solve: the rollers rubbed against the base, and the dowels needed support to stay upright. Both pointed to bearings, stacked at two points to keep the dowels straight.
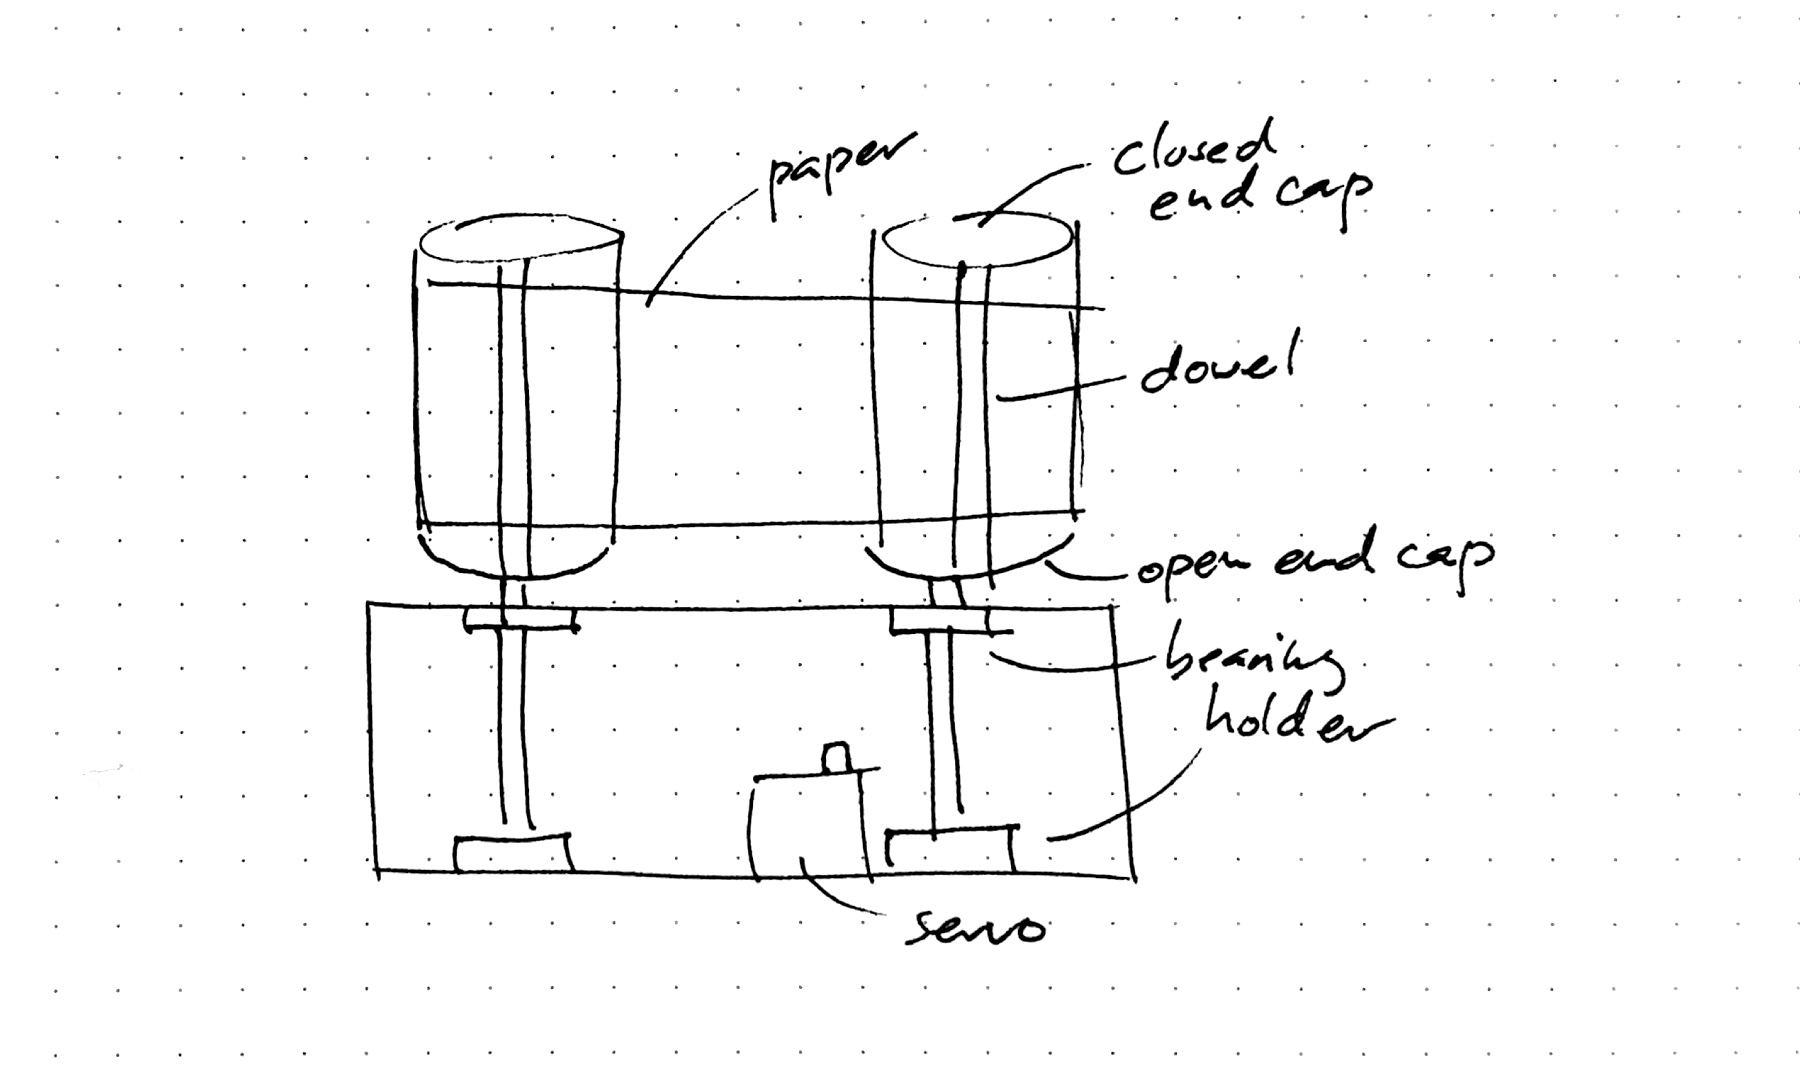
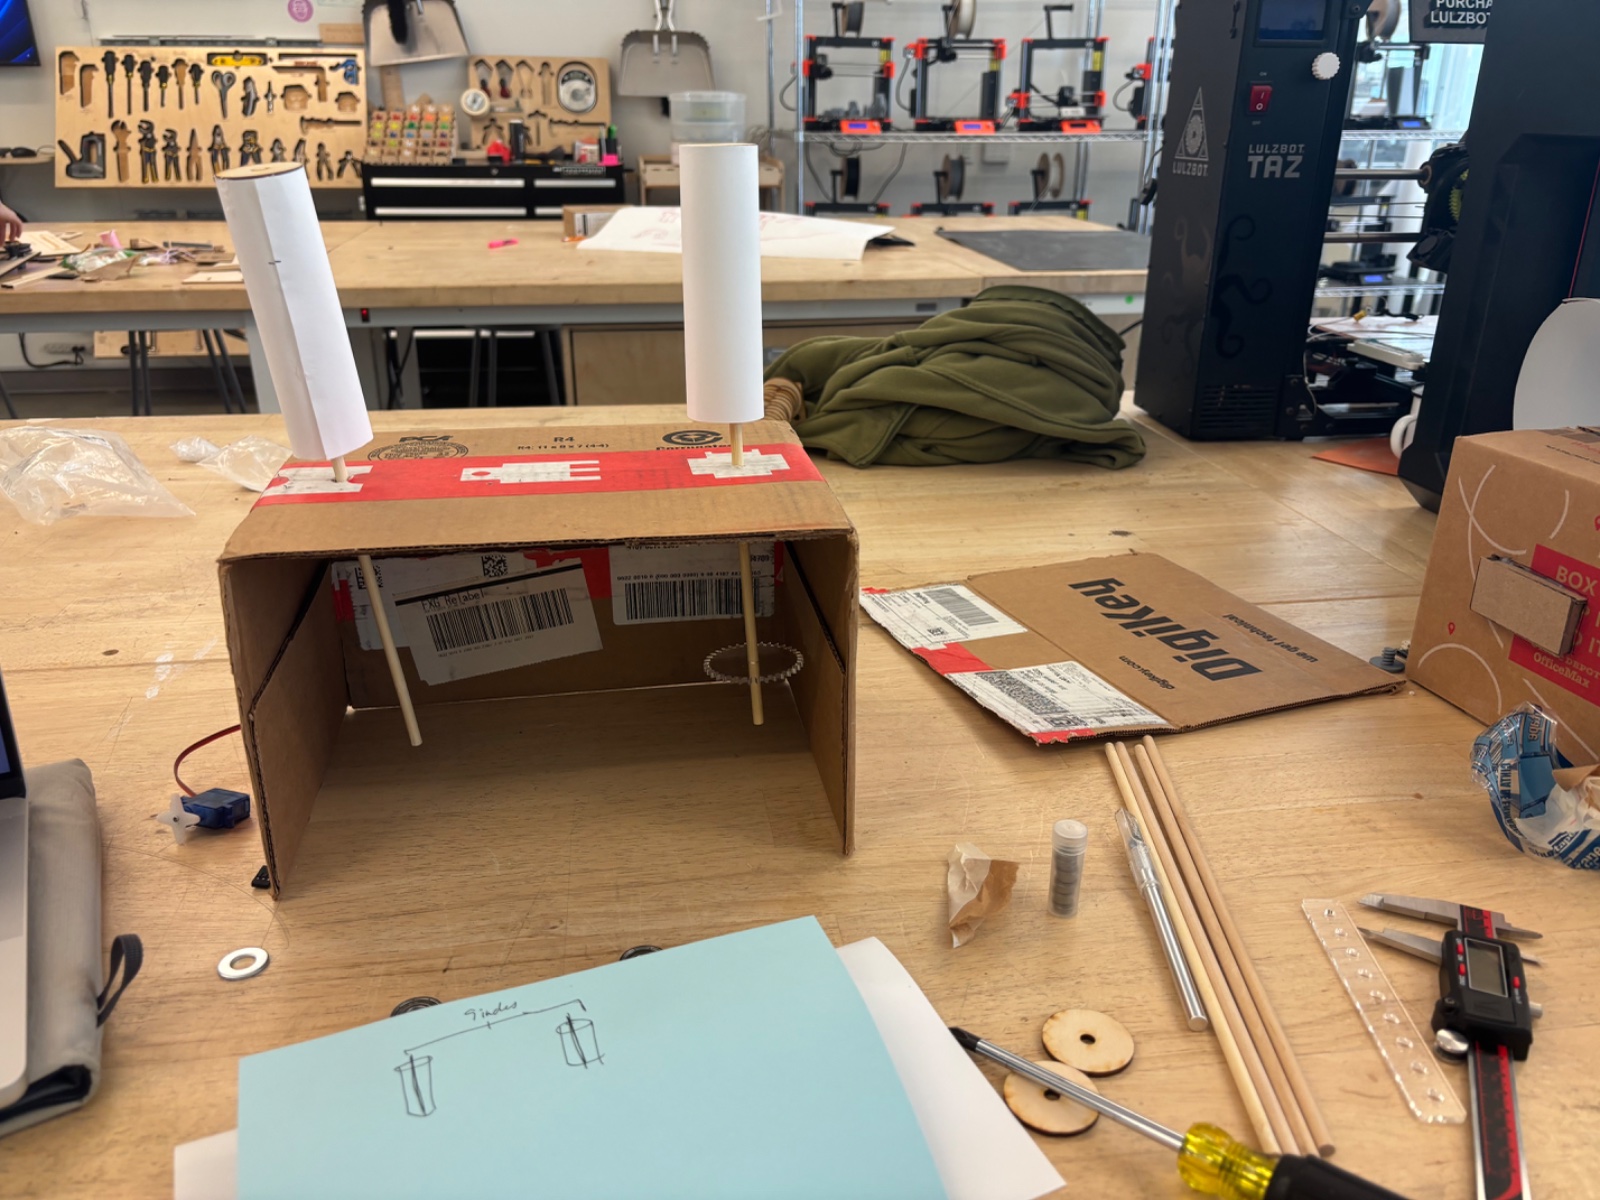
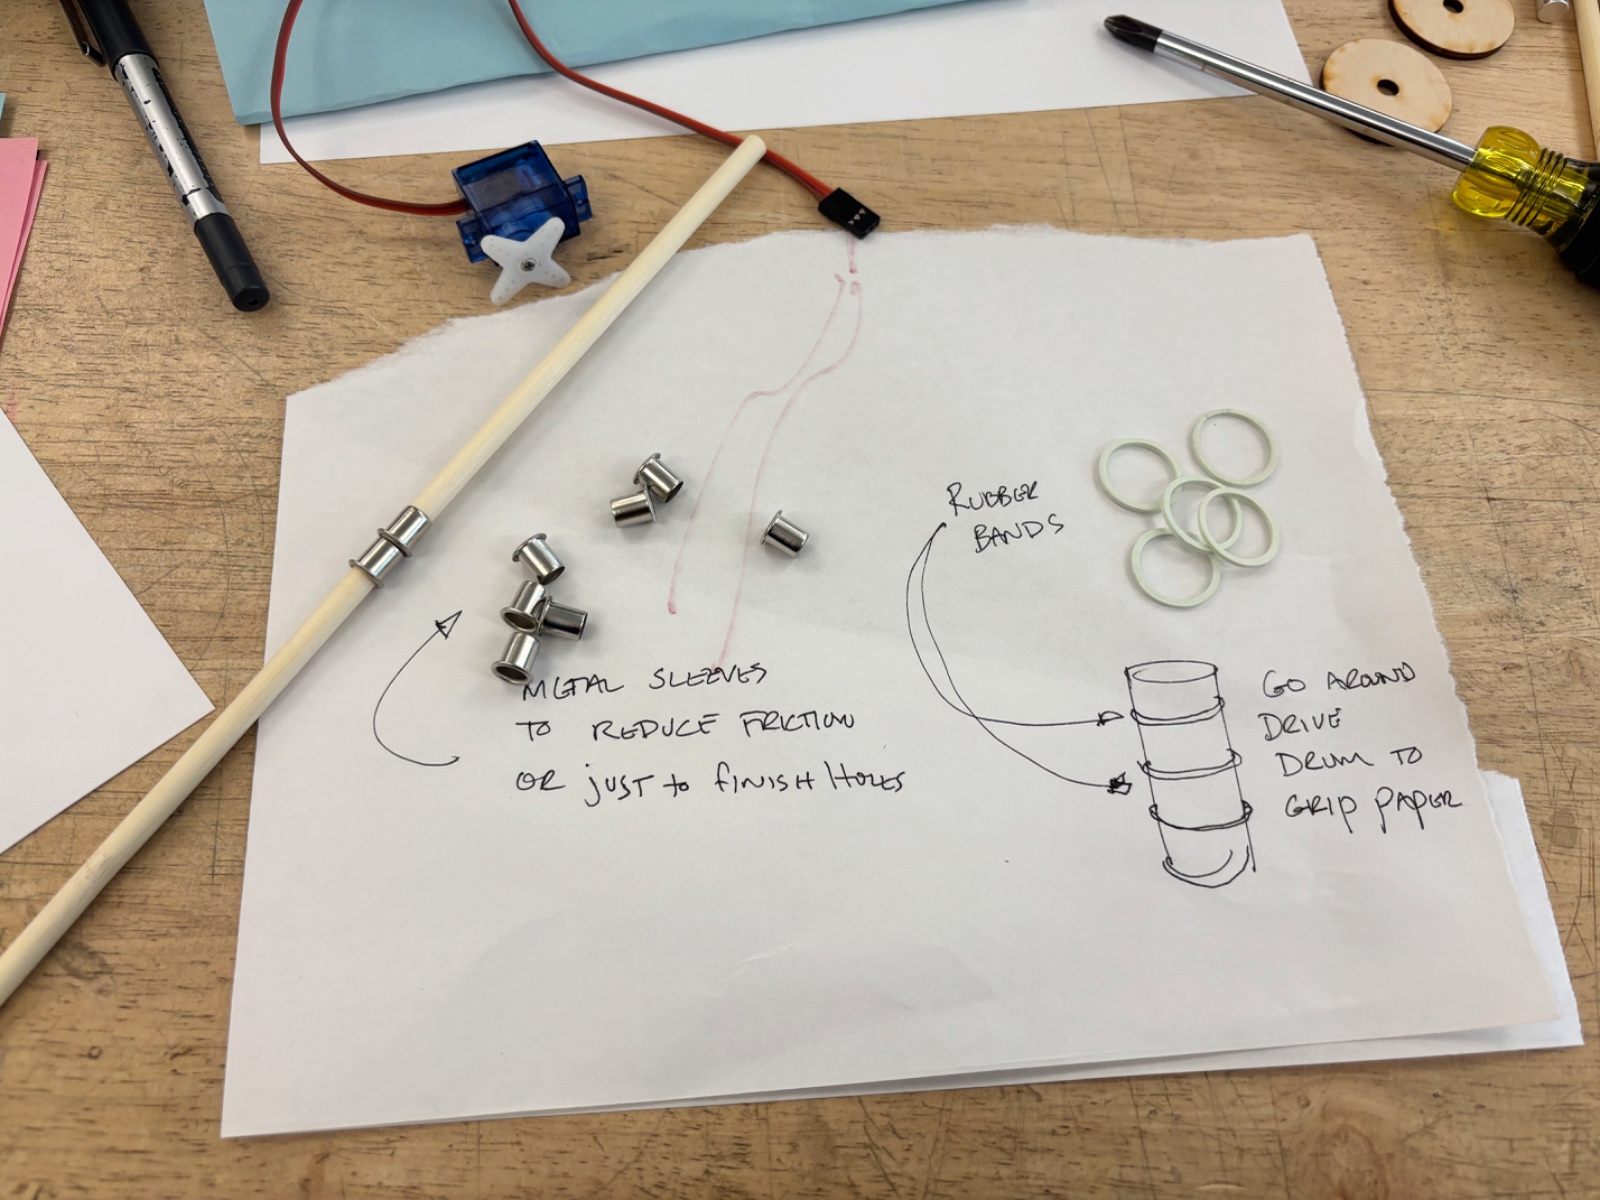
The prototype also set the dimensions for the final version:
Each part of the final display was tested, adjusted and reprinted on its own, so the build was designed to be modular from the start.
The base is the smallest that fits the servo and gears with clearance to turn, which keeps the piece compact. Because the paper width wasn’t settled yet, the base has a separate top deck, so the roller spacing could change by reprinting only the deck.
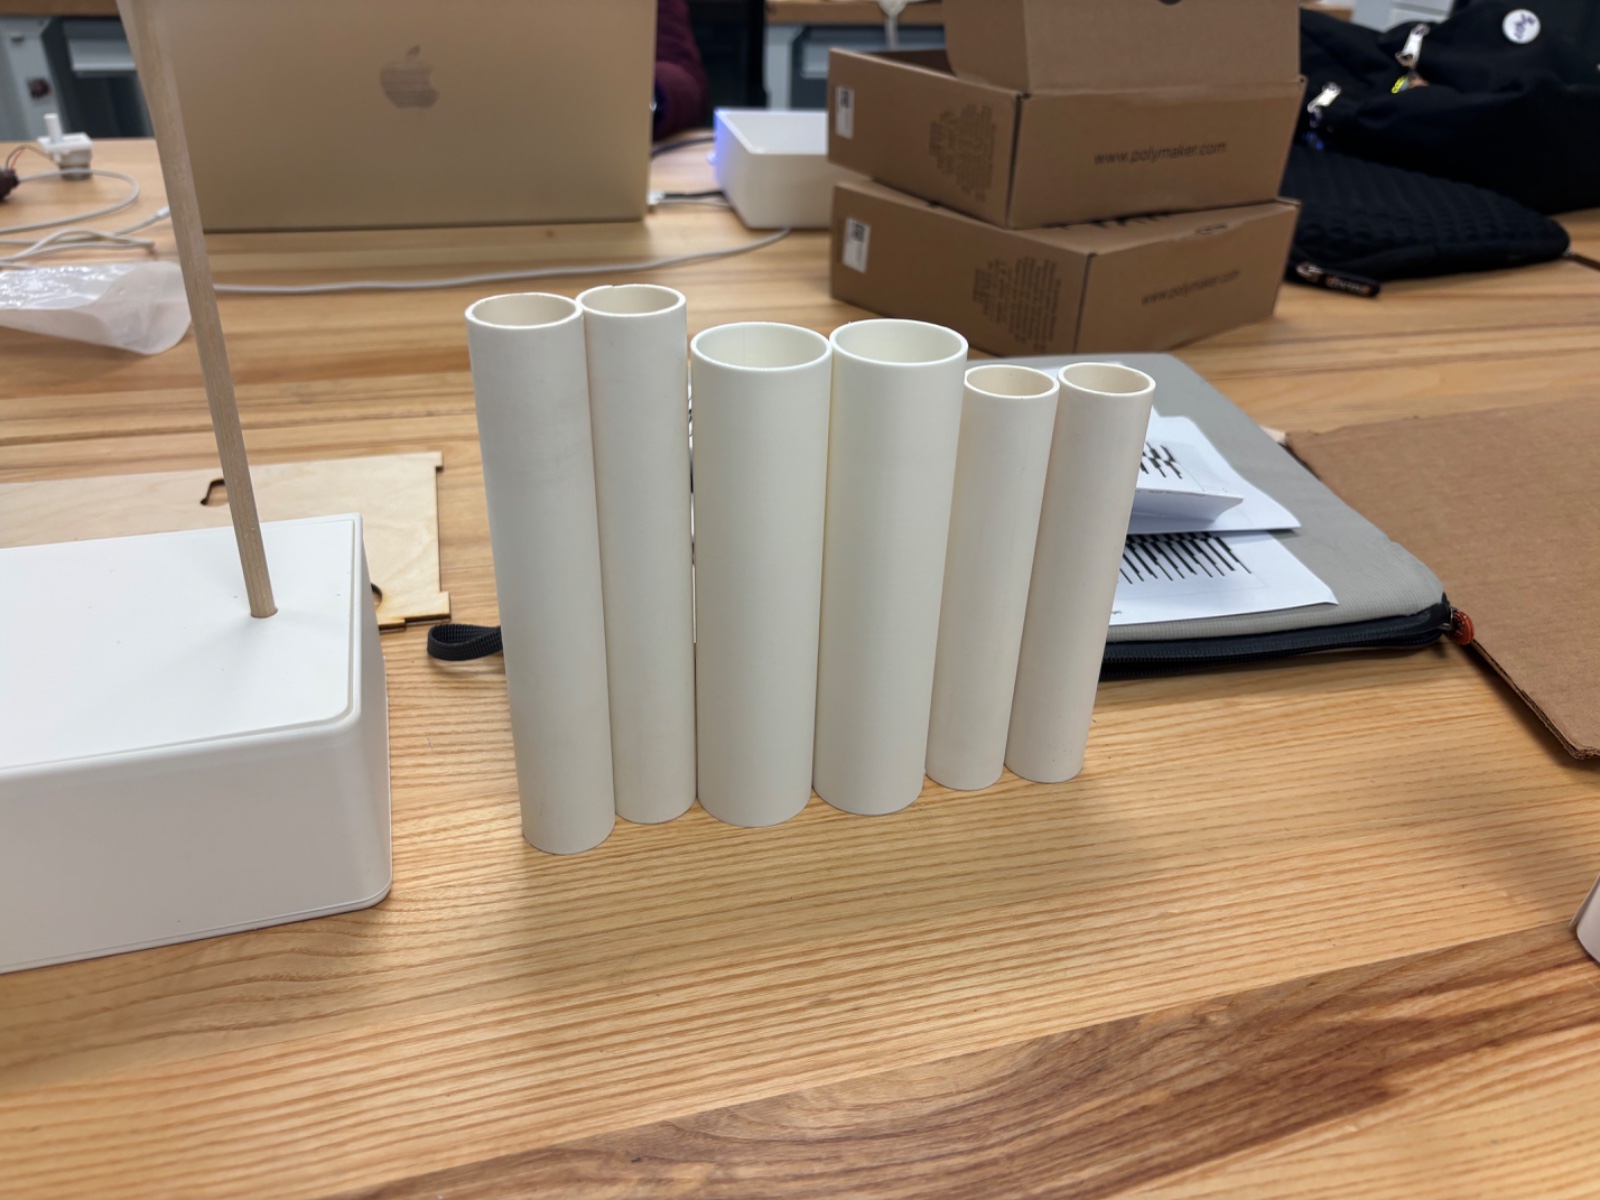
For the rollers, 3D printing gave more control than PVC. I cut PVC pipe in two lengths to compare, then printed thin-walled rollers instead, which let me set the exact width and height and keep them light. End caps are fit exactly to the dowels.
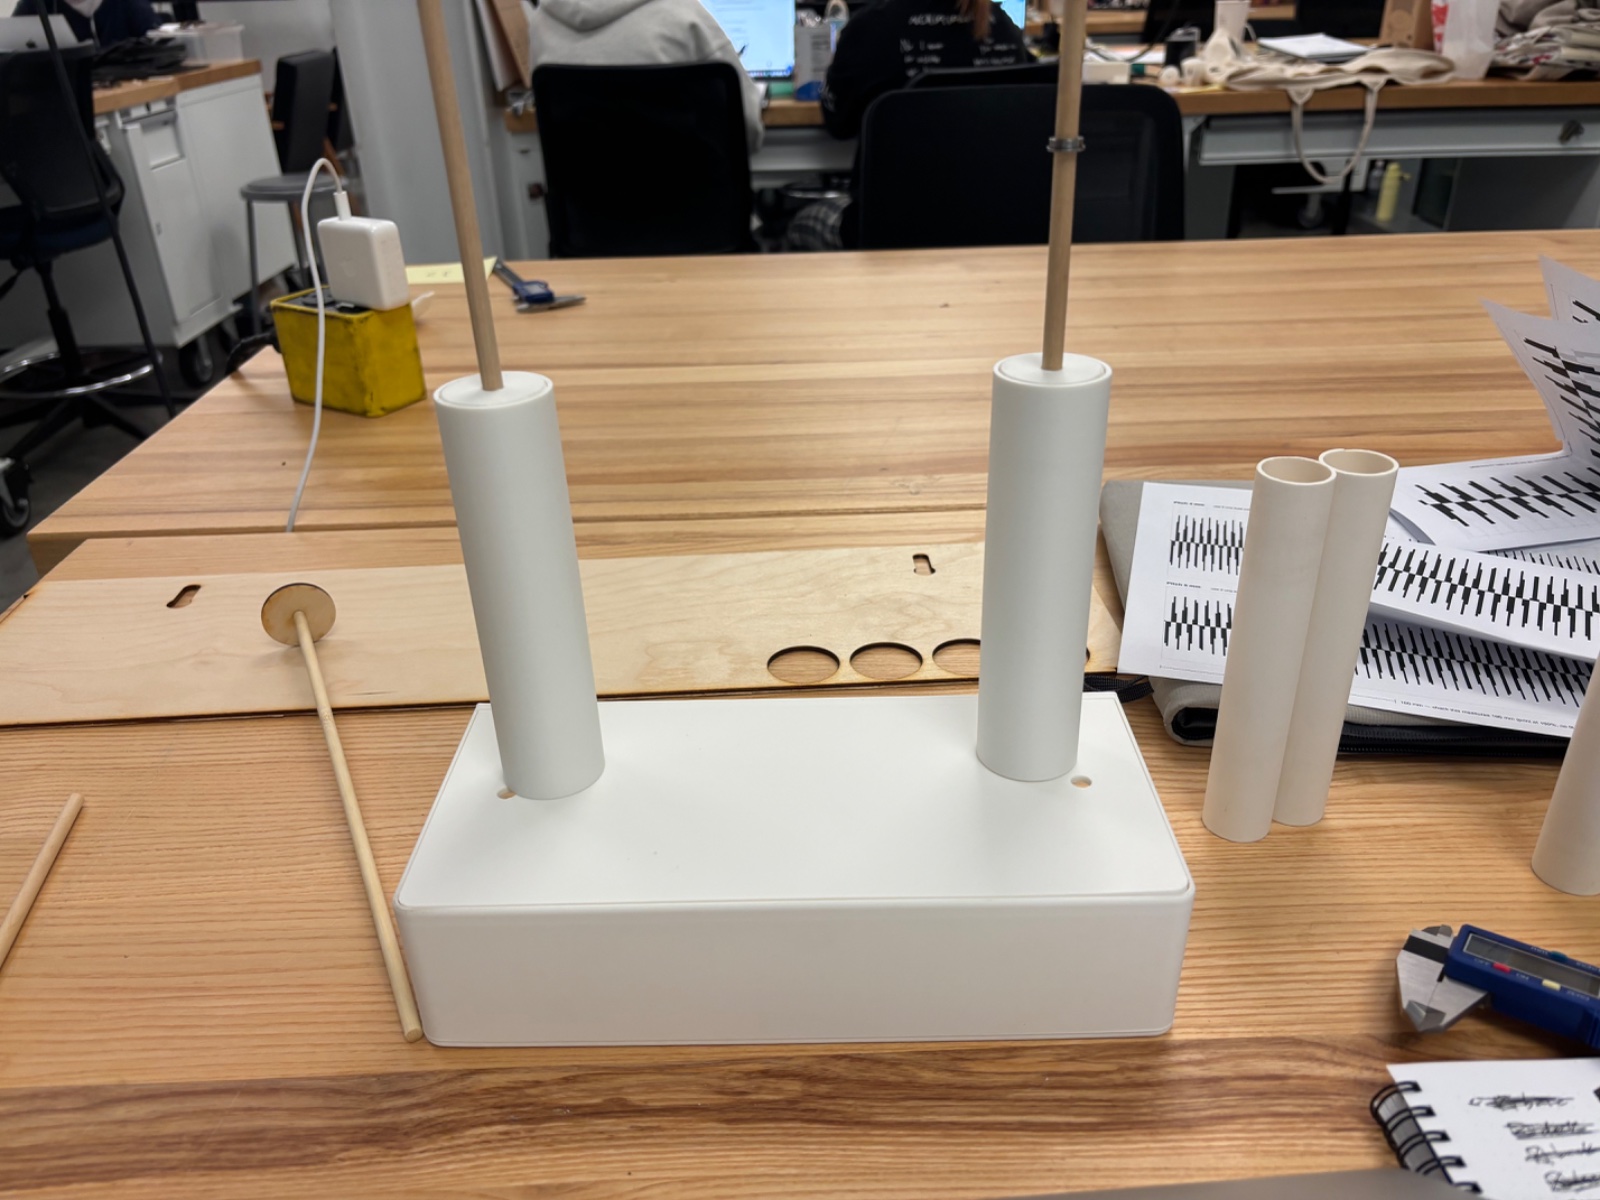
Bearing holders built into the deck hold the bearings and support the dowels, solving the friction and support problems from the prototype. The modular deck paid off when the first plate set the rollers slightly too far apart: only that piece needed reprinting.
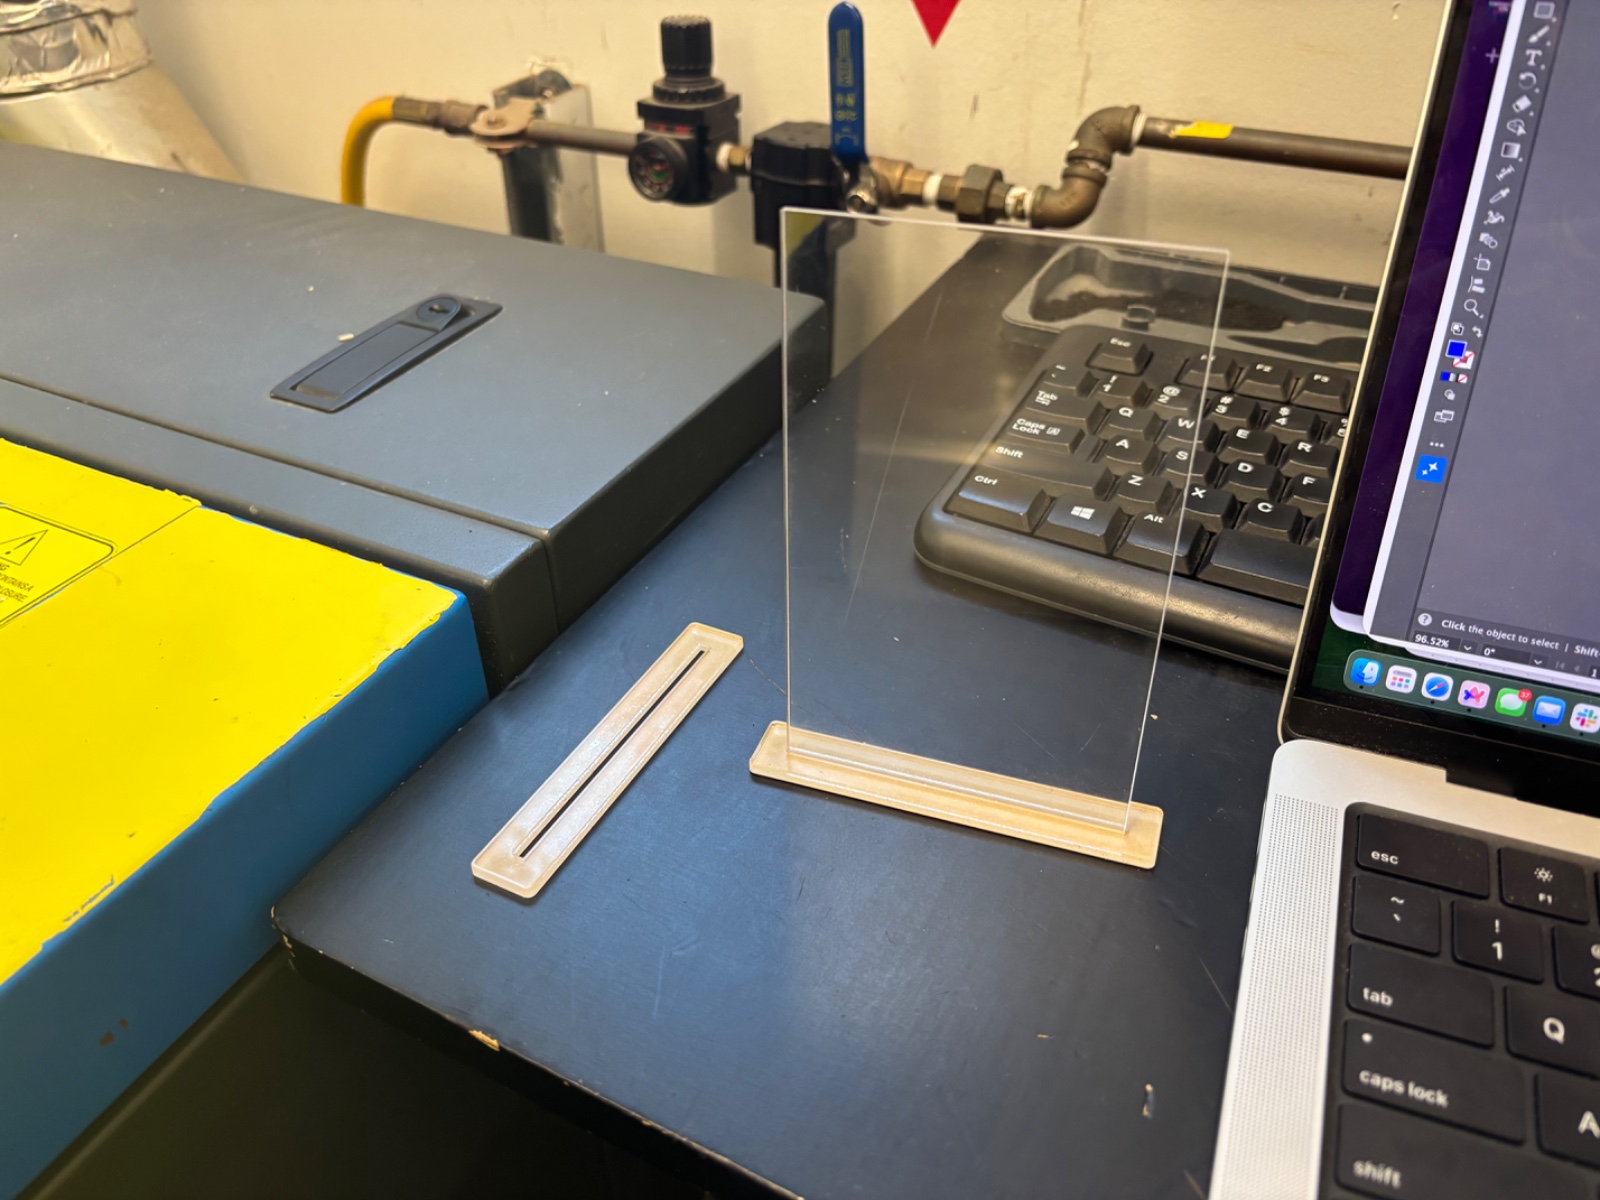
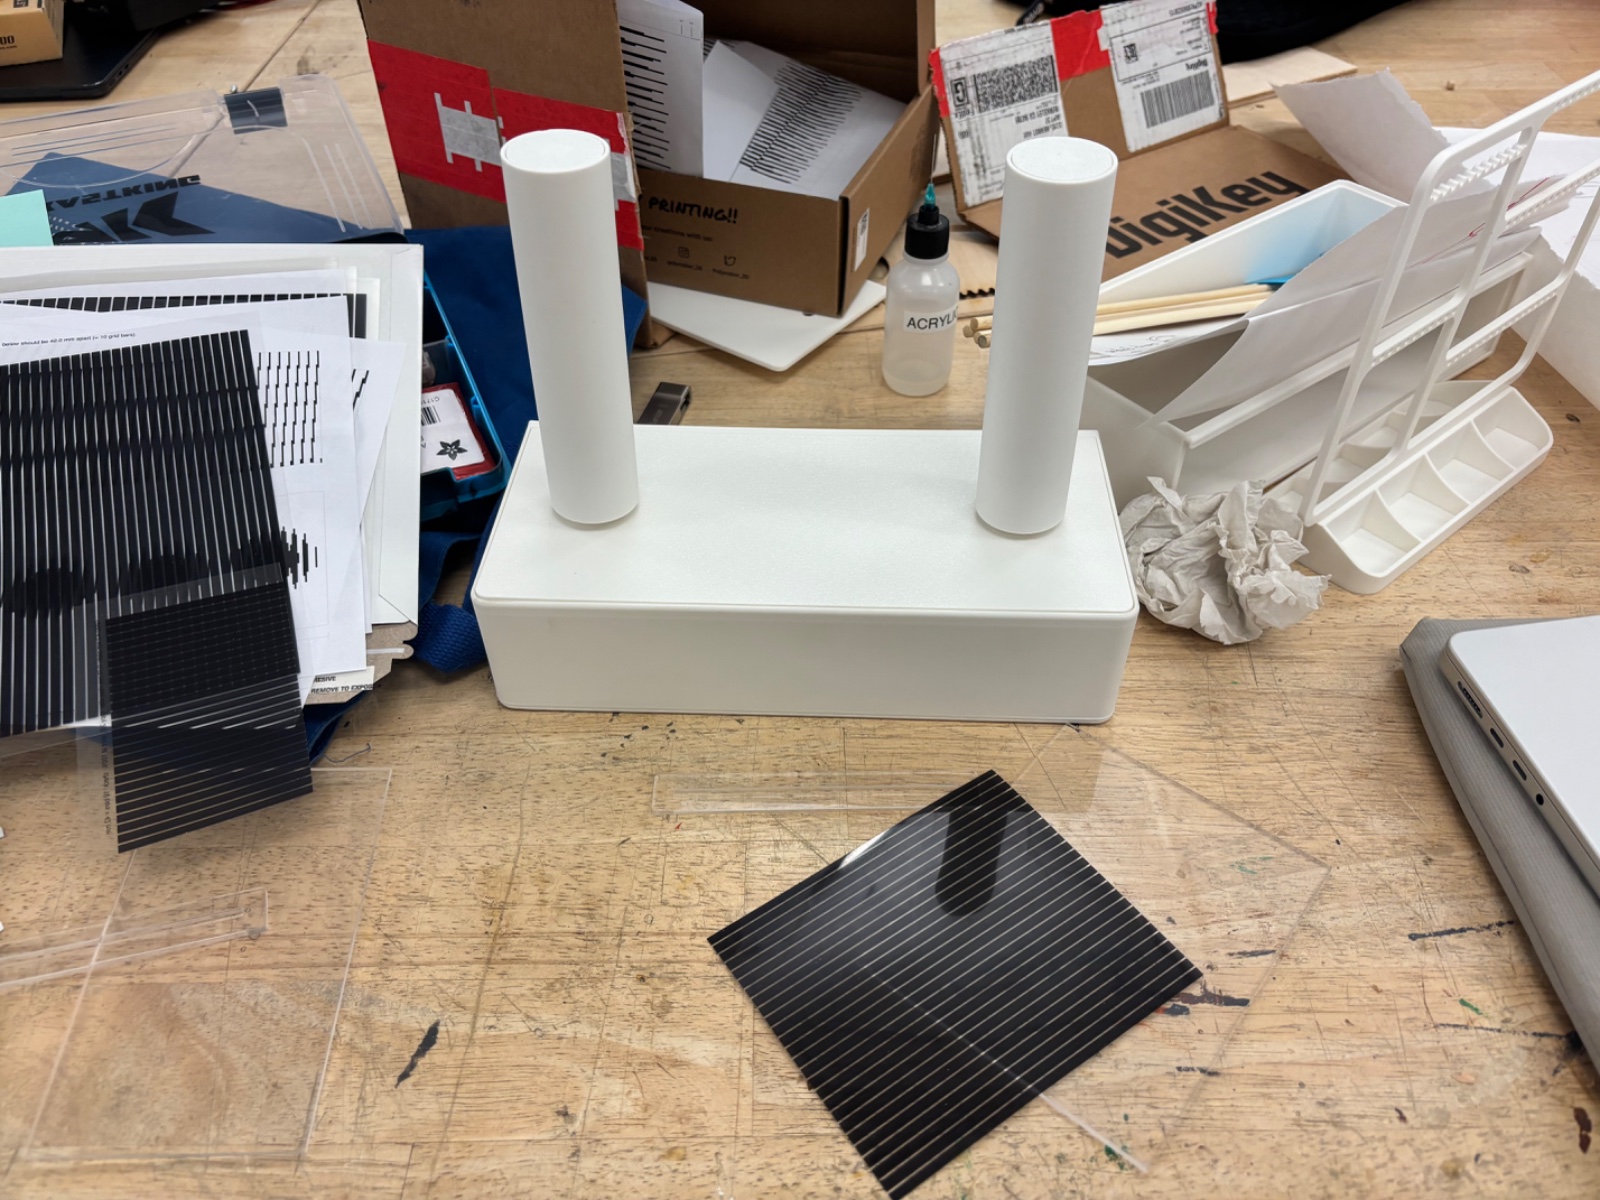
Slot width decides how clear the animation is. Wider slits let the grid sit further from the paper, narrower ones sharpen the frames. Tests on transparencies showed 4.2 mm slots gave the clearest animation, so the grid presses directly against the paper. The acrylic pane was enlarged to show more of the animation, and it slots into feet to stand without glue.
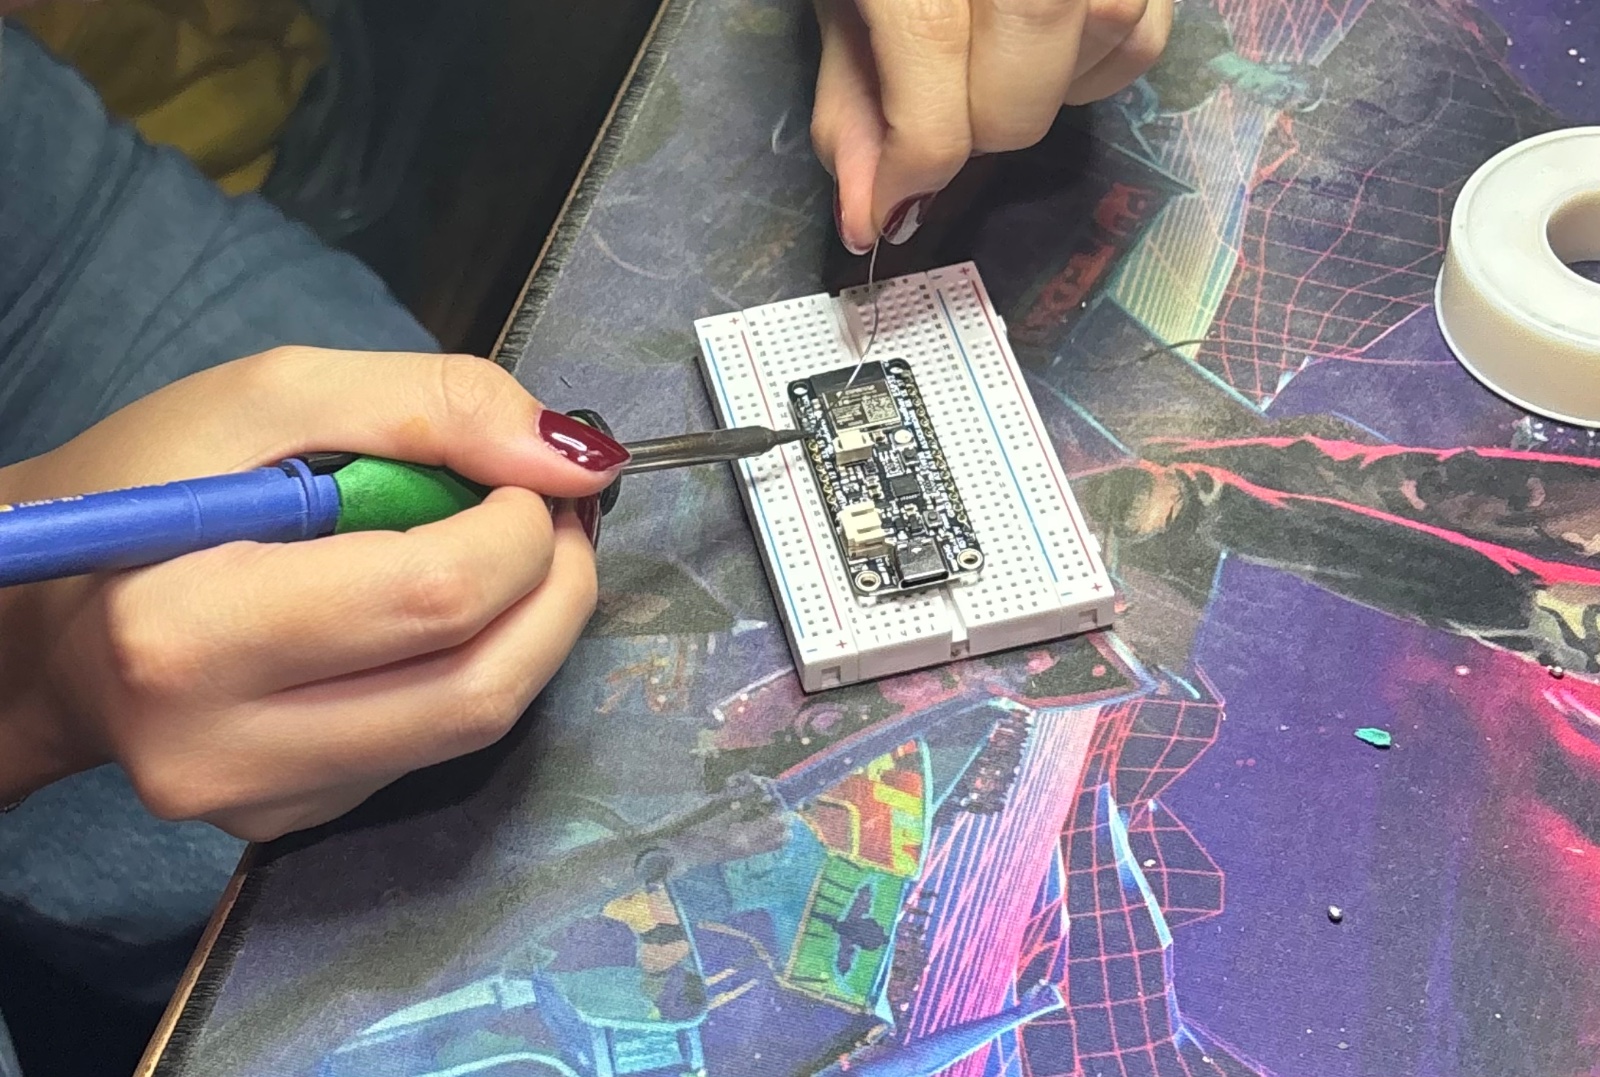
An ESP32 with built-in WiFi connects the display to Wikipedia. It checks recent edits and sets the servo speed using the same time windows as the live view, so the machine and the view always show identical numbers.
The printed animation had to match the loop exactly. A plain paper loop run on the rollers confirmed it rotated smoothly, and its measured length set the dot spacing and strip width for the final print.
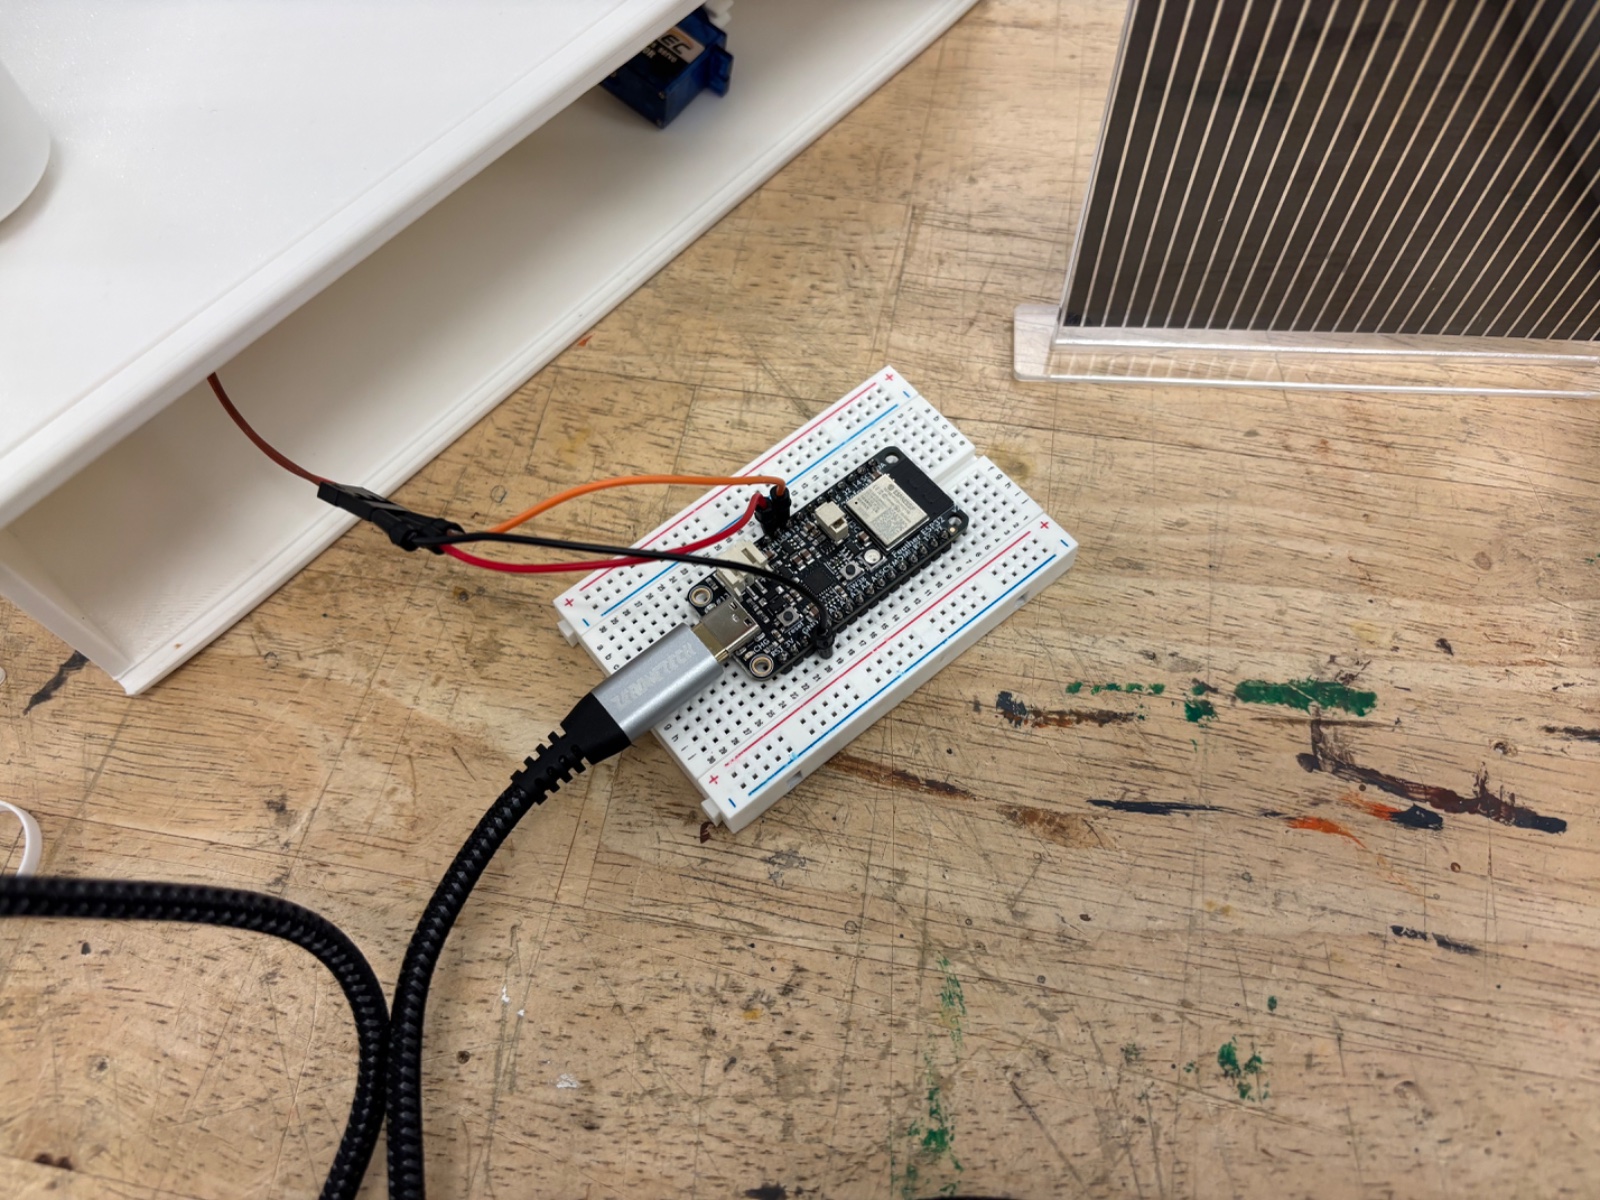
The final display is a compact 3D-printed base that hides the servo, gears and ESP32, with two rollers carrying a printed paper loop behind a fixed acrylic grid. Side by side, the display and the live view respond to the same numbers. The display shows the overall level of activity at a glance, while the view shows what is actually being edited.
The display was received well. Since we couldn’t use screens to represent the data, I was struck that many people first thought it was a screen. Only up close did they realize it was a physical optical illusion: paper moving behind a printed grid. I liked that an early 1900s technique could be mistaken for a digital one.